How to Set Up a Campsite Like a Pro
This article may contain affiliate links. If you make a purchase through these links, we may earn a small commission at no extra cost to you. This helps us keep creating free content.

On our first camping trip, setting up camp took us nearly two hours. We argued about which direction to face the RV, could not find the leveling blocks, hooked up the water before we realized we needed to level first, and then could not figure out why the electricity was not working (the breaker at the post was off). By the time we were done, we were tired, frustrated, and the sun was setting.
A practiced setup takes about 20 minutes. Not because of better gear, but because of a consistent routine that runs the same steps in the same order every time. Having a system transforms arrival from stressful to almost enjoyable.
Step 1: Survey the Site Before You Park
Before you pull in, get out and walk the campsite. Look at where the hookups are (water, electric, sewer). Check for low-hanging branches that could scratch your RV or hit your AC unit. Look for slopes, soft ground, or obstacles that could cause problems. Figure out which direction your entry door, awning, and hookup side should face relative to the utility connections.

Two minutes of scouting saves 20 minutes of repositioning later.
Step 2: Level First, Everything Else Second
Leveling is the foundation of your entire setup. If you skip it or rush it, your fridge will not cool properly (absorption fridges need to be level), doors will swing open or closed on their own, and sleeping will feel like you are on a gentle hill all night.
Use leveling blocks under your low-side wheels to get side-to-side level first, then use your tongue jack (travel trailer) or hydraulic jacks (motorhome) for front-to-back. A small bubble level on the floor inside the RV tells you when you have it right. Many modern RVs have built-in level indicators on the control panel.

Step 3: Stabilize
Once level, deploy your stabilizer jacks. These are not for leveling, they prevent the RV from rocking when you walk around inside. Crank them down until they make firm contact with the ground (or with a stabilizer pad if the ground is soft). Do not lift the RV with stabilizers; you will damage the frame.
Step 4: Connect Utilities in Order
Connect utilities in this order every time: electric first, water second, sewer third. Here is why:
- Electric first: Getting power connected means your fridge can start cooling, your AC can run if it is hot, and you have lights inside to finish setting up if it is getting dark.
- Water second: Connect your drinking water hose with a pressure regulator. Open the campground spigot and check for leaks at your connection. Turn on a faucet inside to verify water flows, then let the hot water heater start heating.
- Sewer third: Connect your sewer hose if you have a full hookup site. Make sure the connection is secure and slightly downhill from the RV to the dump point. Keep your valves closed until tanks are at least two-thirds full, dumping small amounts does not flush the tank properly.
Step 5: Set Up Your Outdoor Living Space
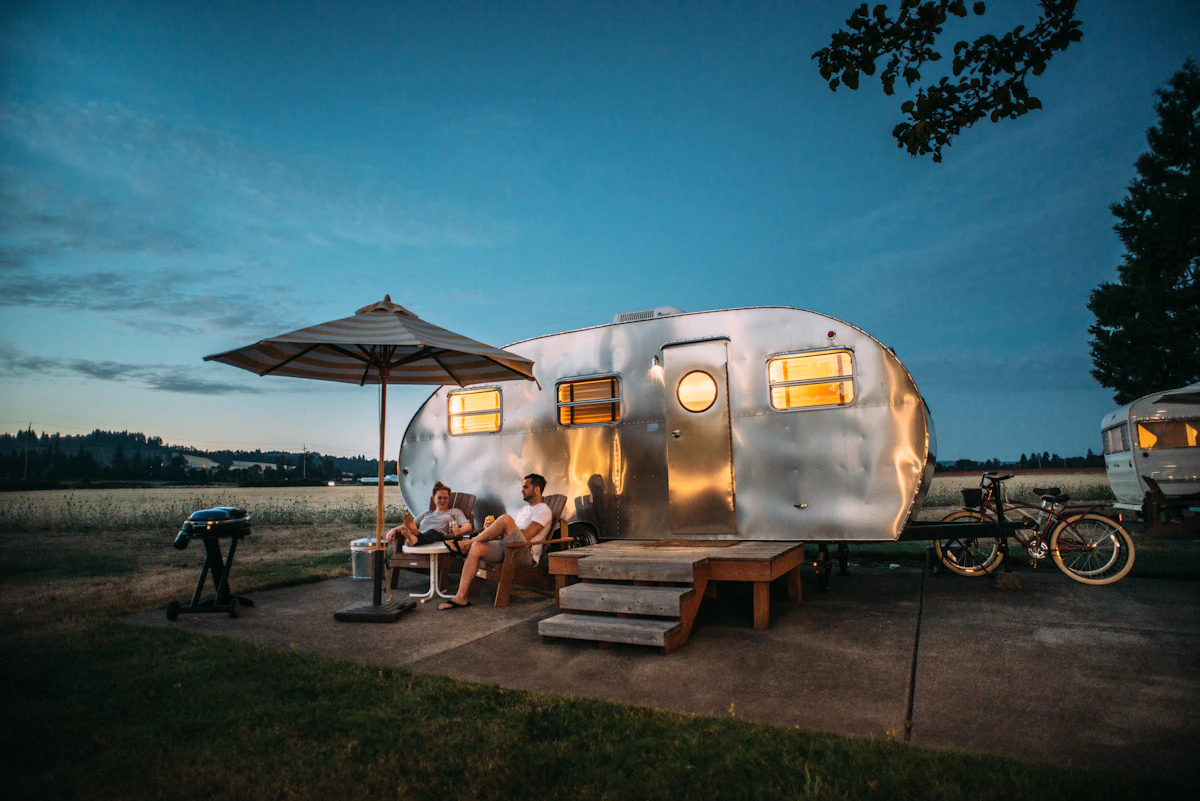
This is where camping stops feeling like a chore and starts feeling like a vacation. Extend your awning, set up your outdoor chairs, lay out a doormat, and arrange your outdoor kitchen area if you have one.
Think about flow. Your chairs should face the best view or the fire ring. Your kitchen or grill should be convenient to the RV door but not blocking the path. String lights along the awning if you like ambiance in the evening. A simple outdoor rug defines your living space and keeps dirt from tracking inside.
Step 6: Inside Setup
Open windows and vents to get air flowing. Extend any slides (if you did not do this during leveling). Turn on the fridge and make sure it is set to the right mode (electric on hookups, propane if boondocking). Check that the hot water heater is running. Put your food away, make the beds, and set out your essentials for the evening.
The Teardown Is the Reverse
When it is time to leave, do everything in reverse order. Pack inside first, retract slides, disconnect sewer (dump tanks first), disconnect water, disconnect electric, raise stabilizers, and then un-level. Having the same routine for departure prevents the "did we forget to disconnect the sewer hose?" panic three miles down the road.
Published by the My Camper Friend editorial team. Published October 7, 2026.
Editorial responsibility: see Imprint.
Spotted an error or have something to add? corrections@mycamperfriend.com
📖 All articles on My Camper Friend →
Browse our other articles
Campsite Tips & Gear Picks
New guides, campground reviews, and adventure ideas — delivered to your inbox.
🎁 Free bonus: RV Trip Packing Checklist (PDF)
You might also like
The Unwritten Rules of Campground Etiquette (From Someone Who's Broken Most of Them)
Nobody hands you a rulebook when you pull into a campground. Here are the unspoken etiquette norms that keep everyone happy — learned mostly through embarrassing mistakes.
First Solo Camping Trip: What to Know Before You Go
Going camping alone for the first time can feel intimidating. Here is what actually matters on a first solo trip, and what does not.

How to Choose the Right Campsite: Shade, Views, and Avoiding the Highway
Not all campsites are created equal. Learn how to scout for shade, score the best views, dodge highway noise, and land a spot that makes your whole trip better.