How to Choose the Right Campsite: Shade, Views, and Avoiding the Highway
This article may contain affiliate links. If you make a purchase through these links, we may earn a small commission at no extra cost to you. This helps us keep creating free content.

We've all been there. You pull into a campground after hours on the road, excited to finally relax, and your assigned site is wedged between the dumpster and the I-95 on-ramp. The "lake view" the website promised is technically accurate if you stand on your RV roof and squint northeast. Meanwhile, the couple three sites over has a shaded paradise with a firepit view of the mountains. What did they do differently?
The answer is surprisingly simple: they knew what to look for before they booked. Choosing the right campsite is a skill, and once you learn it, every single trip gets better. Let's walk through exactly how we pick our sites now, after years of trial and error.
Why Your Campsite Makes or Breaks the Trip
Think of your campsite as the foundation of your entire camping experience. A great site means cool shade on hot afternoons, gorgeous morning views with your coffee, and peaceful evenings without the drone of semis on the highway. A bad site means sleepless nights, sunburned afternoons, and that nagging feeling that you could have done better.

The good news? Most campgrounds give you enough information to pick a winner, and with a few strategies you can consistently land the best spots in any park.
Shade: Your Most Underrated Ally
Coleman Back Home Screened Canopy Tent
Screened gazebo with instant setup that covers a picnic table for bug-free outdoor dining.
As an Amazon Associate we earn from qualifying purchases.
If you're camping between May and September, shade isn't a luxury. It's a necessity. A shaded site can be 10 to 15 degrees cooler than one baking in full sun, which means less air conditioning, lower generator use, and way more time outside.
Here's what to look for:
- Mature deciduous trees on the south and west sides of the site provide the best afternoon shade. That's when the sun hits hardest.
- Pine trees offer year-round shade but drop sap on your RV roof and awning. If you park under pines, plan on washing your rig after the trip.
- Satellite view on Google Maps is your secret weapon. Before you book, check the canopy coverage from above. Dense green canopy over a site number means shade. Bare patches mean sun.

Views: More Than Just Pretty Scenery
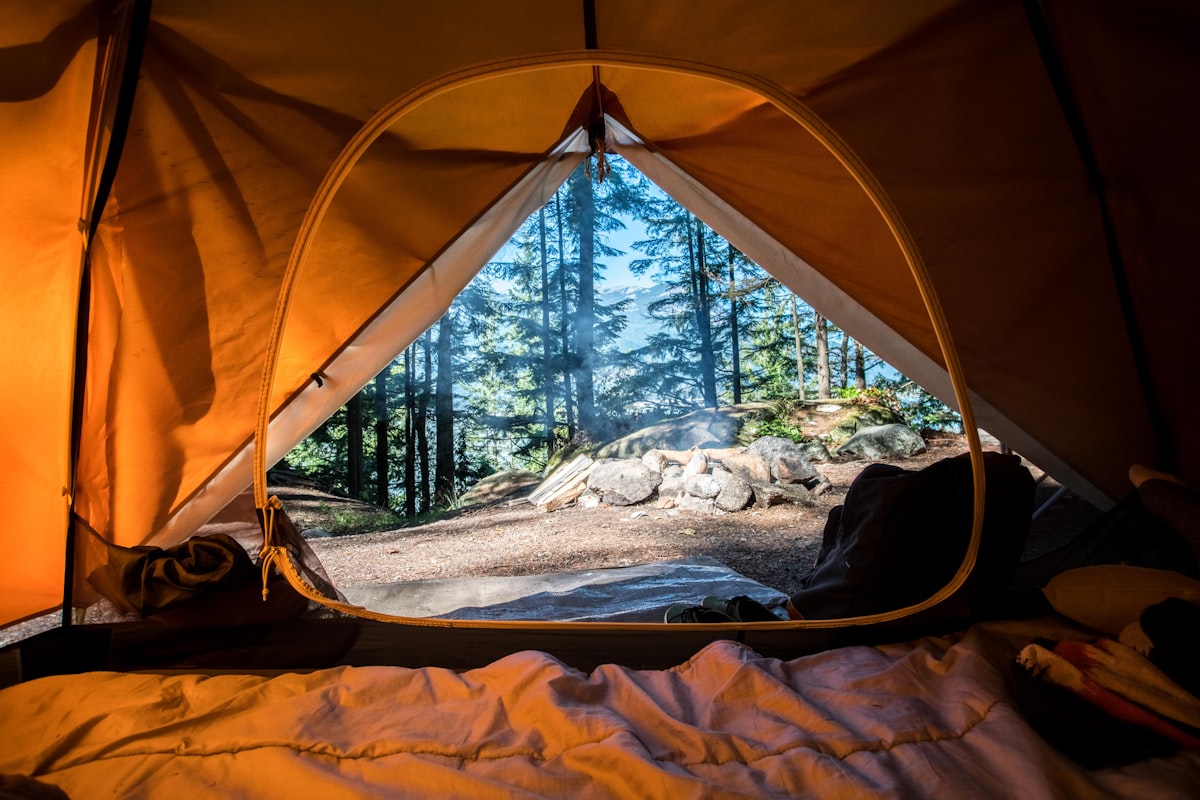
A site with a view transforms the mundane parts of camping. Morning coffee becomes a ritual. Evening meals become memorable. Even washing dishes feels less like a chore when you're looking at a mountain ridge or a quiet lake.
But not all "view" sites are worth the premium. Here's how to evaluate them:
- Check the orientation. East-facing sites give you sunrise views with morning coffee. West-facing sites give you sunsets but also blistering afternoon heat. Know which you prefer.
- Read the reviews. Photos from other campers are far more honest than the campground's promotional shots. Search the campground name on Google Images or camping forums to see what real sites look like.
- Waterfront isn't always best. Lakeside and riverside sites sound dreamy, but they can come with mosquitoes, damp ground, and flooding risks after rain. A site slightly elevated from the water often gives you the view without the drawbacks.
Avoiding Highway and Road Noise
This is the mistake that ruins more camping trips than any other. A campground can look perfect in photos but sit 200 yards from a busy highway, and that constant traffic hum will follow you into your sleep.
Here's how to avoid it:
- Check the campground's position on a map. If a state highway or interstate runs along one edge, the sites closest to that edge are going to be loud. Choose sites on the opposite side of the campground.
- Look for natural barriers. A ridge, hill, or dense tree line between your site and the road makes a huge difference. Sound travels in straight lines, so even a gentle rise in terrain can block a surprising amount of noise.
- Avoid sites near the campground entrance. Even inside a quiet campground, the entrance gets steady traffic from other campers arriving, leaving, and running into town for ice. Interior loops are almost always quieter.
Terrain and Practical Considerations
Beyond shade, views, and noise, there are a few practical details that separate a comfortable campsite from a frustrating one:
- Level ground. An unlevel site means shimming your RV, fighting gravity to keep things from rolling off the counter, and an uncomfortable night's sleep. If the campground offers site-specific photos, look for flat pad areas.
- Hookup locations. Make sure the water, electric, and sewer connections are on the correct side for your RV's setup. Arriving to find hookups on the wrong side means running hoses and cords under or around your rig.
- Distance to bathrooms. Close enough to be convenient, far enough that you don't hear doors slamming. Two to three sites away is usually the sweet spot.
- Firepit and picnic table placement. Check if they're positioned on the side of the site where you'll actually want to hang out, not crammed against a neighbor's boundary.
Privacy: The X-Factor
Some campgrounds pack sites so close together you can hear your neighbor's podcast. Others spread them out with vegetation buffers that make you feel like you're in the wilderness. When you're evaluating sites:
- Pull-through sites are convenient but often more open and closer together. Back-in sites tend to offer more privacy because the vegetation between them hasn't been cleared for easy pull-through access.
- End-of-loop sites only have neighbors on one side. These are almost always worth requesting.
- Campground maps with site dimensions tell you a lot. A site that's 30 feet wide will feel very different from one that's 60 feet wide.
Our Campsite Selection Checklist
Before you hit the "reserve" button, run through this quick mental checklist:
- Is there afternoon shade from trees on the south or west side?
- What's the orientation? Do I want sunrise or sunset views?
- How far is the site from the nearest road or highway?
- Is the ground level, or will I need heavy leveling?
- Are hookups on the correct side for my RV?
- How close are the neighbors? Is there vegetation between sites?
- What do other campers say in reviews about this specific site?
What to Do When You Can't Pick Your Site
Sometimes, especially at popular campgrounds or during peak season, you take what you can get. If you end up on a less-than-ideal site, a few tricks can still save the experience:
- Use your awning and outdoor canopy to create shade where nature didn't provide it.
- Run a fan or white noise machine inside the RV to mask road or neighbor noise.
- Rearrange your outdoor setup so chairs and the cooking area face away from neighbors and toward the best available view.
- Talk to the camp host about switching sites if one opens up. Mid-week departures often free up premium spots.
Choosing the right campsite is one of those skills that pays dividends every single trip. Once you know what to look for, you'll never settle for the dumpster-adjacent spot again. Happy site hunting!
Published by the My Camper Friend editorial team. Published July 13, 2026. Updated October 4, 2026.
Editorial responsibility: see Imprint.
Spotted an error or have something to add? corrections@mycamperfriend.com
📖 All articles on My Camper Friend →
Browse our other articles
Campsite Tips & Gear Picks
New guides, campground reviews, and adventure ideas — delivered to your inbox.
🎁 Free bonus: RV Trip Packing Checklist (PDF)
You might also like

How to Find Last-Minute Campsite Reservations
That campground showing 'fully booked' is not always the end of the story. These strategies have helped us grab campsites that seemed impossible to get.
The Unwritten Rules of Campground Etiquette (From Someone Who's Broken Most of Them)
Nobody hands you a rulebook when you pull into a campground. Here are the unspoken etiquette norms that keep everyone happy — learned mostly through embarrassing mistakes.

7 Campground Red Flags to Watch For Before Booking
Not every campground with a 4-star rating deserves your money. These are the warning signs I have learned to spot before I hand over my credit card.